Living sustainably means reducing waste and enriching our soil. Starting a composting journey at home is a great way to do this. It turns kitchen scraps and yard waste into a fertilizer that makes your garden healthier.
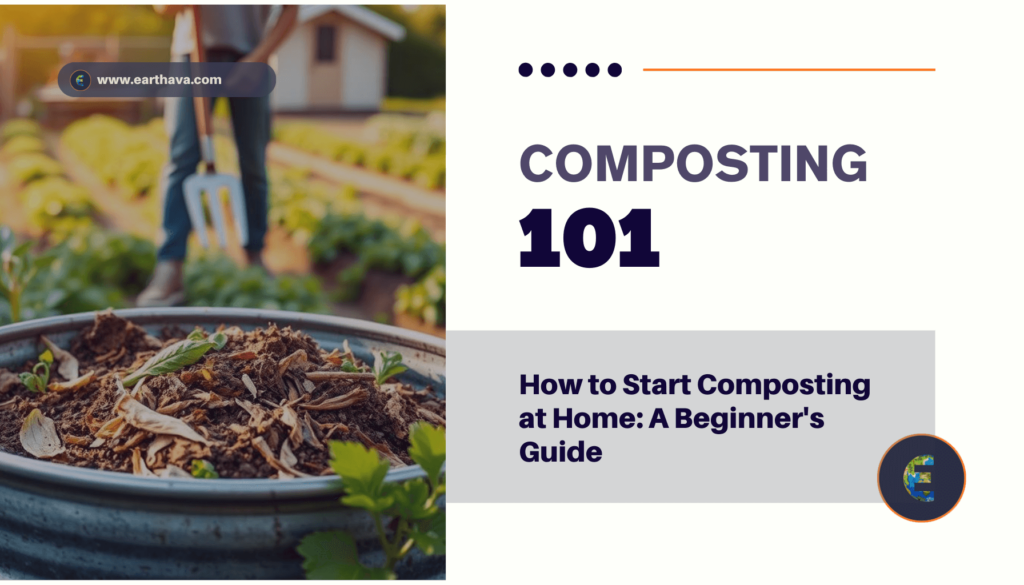
Composting is a simple way to make a big difference. It turns organic material into something useful, cutting down on landfill waste and the need for synthetic fertilizers. With simple steps and guidelines, you can create a compost system that helps your garden and the environment.
Key Takeaways
- Understand the basics of composting and its environmental benefits.
- Learn how to set up a composting system at home.
- Discover what materials can be composted.
- Find out how to maintain your compost pile for optimal results.
- Explore the advantages of composting for your garden and the environment.
The Fundamentals of Home Composting
Learning about home composting is key to turning waste into something useful. We’ll cover the basics and why it’s important, focusing on beginners.
What Is Composting and Why It Matters
Composting turns organic waste into nutrient-rich soil. It’s vital for managing waste and recycling kitchen and yard waste. This helps our gardens grow better.
Composting at home cuts down landfill waste and our carbon footprint. It also makes soil amendments that boost soil health. It’s a simple way for beginners to live more sustainably.
- Reduces landfill waste
- Decreases carbon footprint
- Creates nutrient-rich soil amendment
The Science Behind Decomposition
The decomposition process involves microorganisms like bacteria and fungi. They break down organic matter into simpler compounds. The right mix of moisture, oxygen, and carbon-to-nitrogen ratio is needed.
When conditions are right, microorganisms work well. They turn organic materials into a humus-like substance. This decomposition process is key for releasing nutrients back into the soil, helping plants grow.
- Microorganisms break down organic matter
- The right balance of moisture, oxygen, and carbon-to-nitrogen ratio is essential
- Decomposition releases nutrients into the soil
Understanding decomposition helps us manage compost piles better. This way, we create a valuable resource for our gardens while reducing waste.
Essential Home Composting Tips for Beginners
To start composting, we need to pick the right method for our space. Composting works in many places, from big backyards to small indoor spots.
Choosing the Right Composting Method for Your Space
Outdoor lovers might prefer outdoor composting bins and tumblers. Bins hold a lot of compost, while tumblers make turning easy, speeding up the process.
Outdoor bins come in different sizes and materials like plastic, metal, or wood. You can buy them or make your own. Think about your yard size, waste amount, and bin durability when picking.
Tumblers are easier to maintain. They let you turn the compost pile easily. This helps aerate and speed up decomposition.
Indoor vs. Outdoor Composting Considerations
Indoor composting is great for small spaces or those who prefer it. Vermicomposting (composting with worms) is a clean, odor-free indoor option.
Choosing between indoor and outdoor composting depends on several factors. Outdoor composting is better for large amounts and is simpler. But it needs space and can be weather-sensitive.
- Outdoor composting benefits from natural aeration and can handle larger volumes.
- Indoor composting is ideal for small spaces and can be done year-round, regardless of the weather.
- Indoor composting methods, like vermicomposting, require more initial setup but offer a controlled environment.
When picking a composting method, weigh the pros and cons. The right choice for your space and lifestyle ensures a successful composting journey.
Gathering Your Composting Supplies
Starting your composting journey requires the right tools. Having the right equipment makes the process smoother and more fun.
Necessary Equipment and Tools
To begin composting, you’ll need a few basic items. These include:
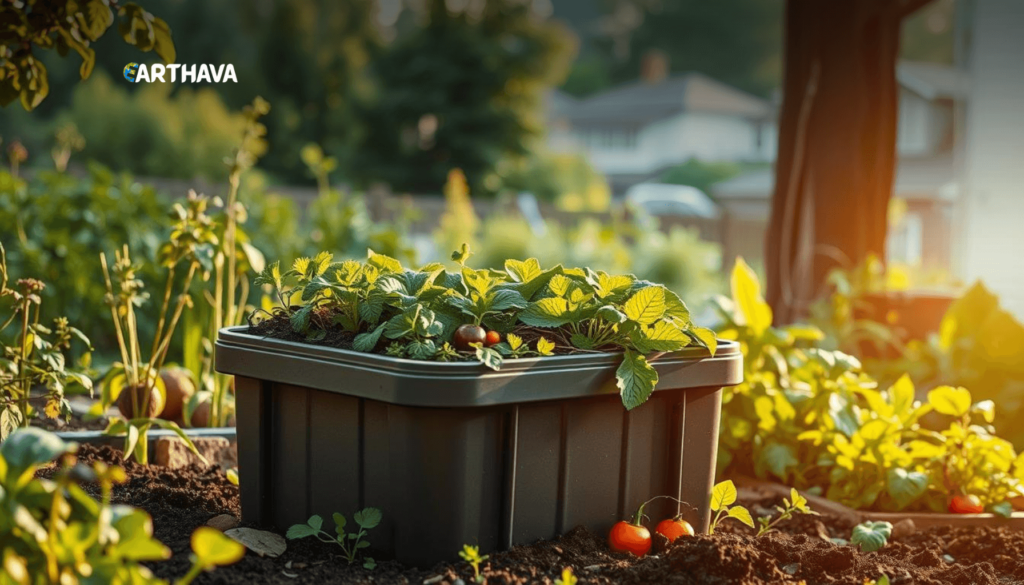
- Compost bins: These keep your compost pile tidy and in one place. You can pick from plastic, metal, or wood bins.
- Gardening gloves: They protect your hands from sharp objects and debris when working with compost.
- Rake or pitchfork: These tools help mix and aerate your compost pile. This ensures it breaks down evenly.
Optional Accessories to Enhance Your Composting
Some accessories can make composting even better. These include:
- Compost thermometer: It helps you keep an eye on your compost pile’s temperature. This is important for decomposition.
- Compost tumbler: This makes turning your compost pile easier. It saves you from hard work.
- Compost aerator: It improves oxygen flow in your compost pile. This speeds up decomposition.
With these supplies and accessories, you’re ready to start a successful composting system at home.
Setting Up Your Compost System
Setting up your compost system is key to successful DIY composting. It’s essential for turning waste into nutrient-rich soil for your garden.
Selecting the Perfect Location
Choosing the right spot for your compost system is vital. It needs to be well-ventilated for decomposition, accessible for upkeep, and out of direct sunlight to avoid overheating. It’s best if it’s near a water source for easy moisture control.
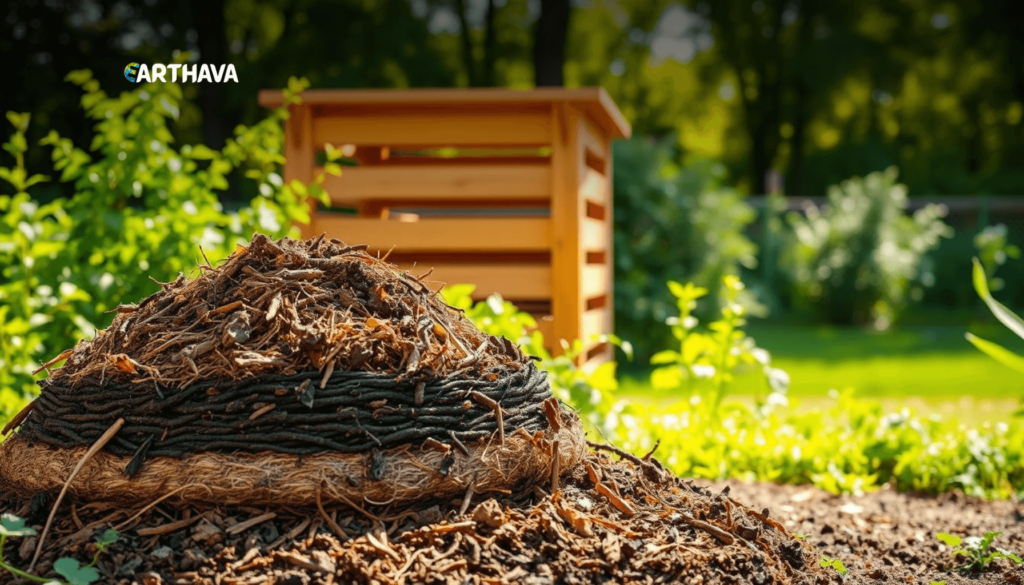
Building or Buying a Compost Bin
You can either build or buy a compost bin. Building your compost bin is cost-effective and customizable. You can use materials like wooden pallets or recycled plastic containers. On the other hand, buying a compost bin is convenient and often has features like odor control. Think about your budget, space, and preferences when deciding.
Preparing the Foundation
Before adding materials, prepare the foundation. Clear the area of debris and vegetation. Place the bin on a level surface. For a pile or wire mesh, lay down coarse materials like straw for better airflow and drainage.
By following these steps, you’ll set up a thriving compost system. It will benefit your garden and the environment. Remember, the key is to balance green and brown materials, keep it moist, and turn the pile regularly.
What Can and Cannot Be Composted
Knowing what can be composted is key to good organic waste management. Composting turns organic materials into a soil amendment full of nutrients, so it’s important to know which materials work best for composting.
Green Materials: Nitrogen-Rich Ingredients
Green materials are high in nitrogen and are vital for a compost pile. They include:
- Food scraps, such as fruit and vegetable peels
- Grass clippings
- Manure from herbivores
- Fresh leaves
These are wet and full of nitrogen, making them perfect for balancing out the compost pile.
Brown Materials: Carbon-Rich Ingredients
Brown materials are high in carbon and give energy to microorganisms. They include:
- Dry leaves
- Wood chips
- Shredded newspaper
- Cardboard
These are dry and absorb moisture from green materials, creating a balanced compost pile.
Items to Avoid in Your Compost Pile
Not all organic materials are good for composting. It’s important to avoid adding certain items:
- Meat, bones, and dairy products, as they attract pests and create odors
- Pet waste, as it can contain pathogens
- Diseased or moldy materials, as they can contaminate the compost
- Synthetic materials, such as plastics and metals
Avoiding these will make your compost safe and effective for your garden.
| Material Type | Examples | Benefits |
|---|---|---|
| Green Materials | Food scraps, grass clippings | Rich in nitrogen, supports microbial growth |
| Brown Materials | Dry leaves, wood chips | Rich in carbon, helps with moisture control |
| Materials to Avoid | Meat, dairy, pet waste | Prevents pests, odors, and contamination |
Step-by-Step Guide to Starting Your Compost Pile
Starting a compost pile at home is simple. It begins with setting up your pile correctly. You need to layer your materials, keep the right moisture, and activate the pile to start decomposition.
Layering Your Materials Properly
The key to a good compost pile is layering. Start with 4-6 inches of brown materials like dried leaves or shredded newspaper. This layer provides carbon and helps with aeration.
Then, add 2-3 inches of green materials like kitchen scraps or grass clippings. These are rich in nitrogen. Keep alternating layers, ending with brown on top.
Achieving the Right Moisture Balance
Keeping the right moisture is key for composting. The pile should be damp, like a wet sponge. Too much water can cause bad smells and anaerobic conditions.
To check moisture, do the squeeze test. If it holds its shape and feels damp, it’s perfect. Add brown materials to soak up too much water or sprinkle water when it’s dry.
Activating Your Compost Pile
To start your pile, add a compost starter or accelerator. These products have microbes that help break down materials. You can also use finished compost or a handful of soil to introduce microbes.
After layering and moistening, adding an accelerator can speed up decomposition. This gets you to nutrient-rich compost faster.
Maintaining Your Compost System
Keeping your compost system in top shape is key to successful backyard composting. Regular care makes sure your compost pile stays healthy and productive. It turns your waste into valuable, nutrient-rich soil.
Turning and Aerating Techniques
Regular turning and aerating are vital for your compost system. This step introduces oxygen, which is essential for breaking down organic matter. Turning your compost every 7-10 days speeds up decomposition and prevents bad smells.
To turn your compost well, use a pitchfork or shovel. Gently lift and rotate the materials. Move them from the center to the edges and back. This keeps the pile aerobic. If your compost is compacted or has anaerobic pockets, it’s time to turn it.
Monitoring Moisture Levels
It’s important to keep the compost pile moist, like a damp sponge. Too little moisture slows down decomposition, while too much causes bad smells. Check the pile’s moisture by feeling it. If it’s dry, add water. If it’s too wet, add brown materials to soak up the excess.
Do the “squeeze test” to check moisture. Squeeze a handful of compost. If it holds its shape but doesn’t drip water, it’s right. If it crumbles, it’s too dry. If water drips out, it’s too wet.
Managing Seasonal Changes
Composting changes with the seasons. In the warmer months, piles decompose faster. Watch moisture levels more often because they dry out quicker.
In the colder months, decomposition slows down. Turn the pile less often. But check it regularly to avoid wetness or compaction. Adding insulation, like straw or leaves, helps keep temperatures steady.
By following these tips, your compost system will work well all year. You’ll get a steady supply of nutrient-rich compost for your garden.
Integrating Composting into Your Daily Routine
To really make a difference, we must make composting a part of our daily lives. This not only cuts down on landfill waste but also gives us a valuable resource for our gardens. By adding simple steps to our kitchen and home routines, composting becomes easy and natural.
Kitchen Setup for Collecting Compostables
Starting with a kitchen compost bin is key. Choose one that’s easy to clean and has a lid to keep smells in. Put it in a spot you use often, like under the sink or on the counter.
For better composting, use biodegradable bags or a small container with a lid for kitchen scraps. This makes adding to your outdoor bin or pile simple. Remember to clean your kitchen bin often to avoid bad smells and bacteria.
Creating Sustainable Household Habits
Building sustainable habits around composting means being smart about waste. Start by noticing what organic waste you produce daily, like food scraps and yard trimmings. Being aware of what can be composted helps cut down on waste.
To keep composting going well, watch the carbon-to-nitrogen ratio in your pile. Mix “green” (like kitchen scraps) with “brown” (like leaves or straw) materials. Also, turn your pile often and keep it moist for best results.
By making composting a daily habit, we help the planet and improve our soil. This makes our plants healthier. As we get into these habits, we become more mindful of our waste and want to reduce it even more.
Troubleshooting Common Composting Problems
Even with the best composting practices, problems can occur. Knowing how to solve them is key to success. Composting at home is rewarding but needs attention to detail to overcome common challenges.
Dealing with Odors and Pests
One of the most common issues composters face is managing odors and pests. Odors can be minimized by balancing green and brown materials. A mix that is too rich in green materials (like food scraps) can cause unpleasant smells. To address this, add more brown materials (such as dried leaves or straw) to balance the carbon-to-nitrogen ratio.
Pests, including rodents and insects, can be deterred by ensuring that the compost pile is covered and that no meat, dairy, or oily foods are included. Covering the compost pile not only keeps pests out but also helps maintain moisture and heat.
“The key to successful composting is maintaining a balance between green and brown materials, ensuring adequate moisture, and regularly turning the compost pile.”
Fixing a Slow Decomposition Process
A slow decomposition process can be frustrating. But there are several steps you can take to address it. First, check the carbon-to-nitrogen ratio of your compost pile. If it’s too high in carbon (brown materials), it may decompose slowly. Adding more nitrogen-rich materials (green materials) can help speed up the process.
Another factor to consider is oxygen levels. Turning the compost pile regularly introduces oxygen, which is essential for the microorganisms that break down the organic matter.
| Issue | Solution |
|---|---|
| Slow Decomposition | Cover the compost pile, and avoid adding meat, dairy, or oily foods |
| Odors | Balance green and brown materials, ensure adequate carbon |
| Pests | Cover the compost pile, avoid adding meat, dairy, or oily foods |
Addressing Moisture and Temperature Imbalances
Moisture and temperature are critical factors in composting. A compost pile that is too dry will decompose slowly, while one that is too wet can become anaerobic and smelly. Aim for a moisture level like a damp sponge. Regularly checking the moisture and turning the pile can help maintain the right balance.
Temperature is another important factor. A compost pile can get hot, with temperatures sometimes reaching over 160°F. While some heat is normal, excessive temperatures can kill beneficial microorganisms. Monitoring the temperature and turning the pile when it gets too hot can help manage this issue.
By understanding and addressing these common composting problems, you can maintain a healthy and productive compost system. This not only benefits your garden but also contributes to a more sustainable lifestyle through DIY composting.
Harvesting and Using Your Finished Compost
After weeks or months of care, your compost is ready to help your garden grow. It’s a rich, earthy product that makes soil better and more fertile.
How to Know When Your Compost Is Ready
Ready compost is dark, crumbly, and smells earthy. It’s important to wait until it’s fully composted. This ensures it’s safe and full of good microbes.
Key Indicators of Ready Compost:
- Dark color, often black or dark brown
- Crumbly texture, resembling soil
- Earthy smell, lacking the original odors of the materials
- Presence of beneficial organisms like earthworms
Sifting and Storing Techniques
When your compost is ready, sift it to make it even and remove big pieces. Use a wire mesh or a compost sifter for this.
| Sifting Method | Description | Benefits |
|---|---|---|
| Wire Mesh Sifting | Using a wire mesh to separate fine compost from larger pieces. | Easy to implement, effective for small to medium compost quantities. |
| Compost Sifter | A specialized tool designed for sifting compost. | More efficient for larger quantities, reduces labor. |
Ways to Use Compost in Your Garden and Houseplants
Compost is great for improving soil and plant growth. You can mix it into garden beds, use it as a top dressing, or add it to potting mixes for houseplants.
Compost Uses:
- Garden Soil Amendment: Mix compost into the soil to improve its structure and fertility.
- Potting Mix: Add compost to potting soil to enhance nutrient content and water retention.
- Top Dressing: Use compost as a mulch or top dressing to retain moisture and suppress weeds.
Advanced Composting Techniques
Looking to improve your composting? Try vermicomposting and Bokashi composting. These methods make composting more efficient and effective. They turn waste into nutrient-rich soil.
Vermicomposting: Composting with Worms
Vermicomposting uses red wiggler worms to break down organic matter. It’s great for indoor composting because it’s odor-free and space-saving. The worms turn the organic material into nutrient-rich compost that is perfect for plants and gardens.
To start, you need a worm bin, red wiggler worms, and bedding like coconut coir or shredded newspaper. Keep the moisture and temperature right for the worms to thrive.
Bokashi Composting for Kitchen Scraps
Bokashi composting ferments kitchen scraps like meat, dairy, and oils. It uses microorganisms to break down the organic matter. This creates a pre-compost for your outdoor pile or soil.
You’ll need a Bokashi bin, Bokashi bran, and a drainage system for Bokashi composting. Layer kitchen scraps with Bokashi bran and let it ferment for days.
Vermicomposting and Bokashi composting add unique benefits to your composting routine. They help improve your diy composting and support sustainable gardening.
Environmental Benefits of Home Composting
Home composting is great for the environment. It helps reduce waste and cuts down on carbon emissions. By composting, we keep a lot of organic waste out of landfills. This means less methane, a harmful greenhouse gas, is produced.
Reducing Landfill Waste
One big plus of home composting is less waste in landfills. Organic stuff like food scraps and yard trimmings don’t get sent to landfills. Instead, they turn into compost. This cuts down on methane production.
Key benefits of reducing landfill waste through composting include:
- Minimizing methane production
- Conserving landfill space
- Reducing the environmental impacts associated with landfill management
Decreasing Your Carbon Footprint
Composting also helps lower our carbon footprint. It means we use fewer synthetic fertilizers. These are made from fossil fuels, so using less of them cuts down on emissions. Plus, compost makes soil healthier, which helps it hold more carbon.
Some ways composting helps decrease our carbon footprint include:
- Reducing the need for synthetic fertilizers
- Enhancing soil carbon sequestration
- Promoting sustainable gardening practices
By composting at home, we’re doing a lot of good. We’re reducing waste and cutting carbon emissions. We’re also helping make our gardens and the environment more sustainable.
Conclusion
We hope you now know how to start composting at home. This guide shows you how to make nutrient-rich soil from kitchen scraps and yard waste. Composting is easy and helps reduce waste, lower your carbon footprint, and make your garden sustainable.
By following our beginner composting guide, you can add composting to your daily life. Pick the best composting method for your space, keep your compost system running, and solve any problems that come up.
Start composting at home today. It’s a great way to cut down on landfill waste and make a natural fertilizer for your plants. Join us in making a difference for our planet by composting.
FAQ
What is the best way to start composting at home?
To start composting at home, first pick a method that fits your space and lifestyle. Then, get the right tools and follow a guide to set up your system.
What materials can be composted?
You can compost green materials like food scraps and grass clippings. Brown materials like dried leaves and newspapers are also good. But avoid meat, dairy, and pet waste.
How often should I turn my compost pile?
Turn your compost pile every 7-10 days. This helps it decompose faster and keeps it from smelling bad or attracting pests.
What are the signs that my compost is ready?
Your compost is ready when it smells earthy and is dark and crumbly. This means it’s fully decomposed.
How can I use my finished compost?
You can use your compost to fertilize your garden. It improves soil and supports plant growth. You can also use it in potting mixes for houseplants.
What are some common composting problems and how can I solve them?
Common problems include odors, pests, slow decomposition, and too much moisture. To fix these, adjust your method, turn the pile, or balance the carbon-to-nitrogen ratio.
Can I compost indoors?
Yes, you can compost indoors. Use methods like vermicomposting or Bokashi composting. They’re great for managing kitchen scraps indoors.
How does composting help the environment?
Composting reduces landfill waste and cuts greenhouse gas emissions. It also makes nutrient-rich soil that supports plants and reduces the need for synthetic fertilizers.
Is it necessary to buy a compost bin or can I make my own?
You don’t need to buy a compost bin. You can make one from wire mesh, wooden pallets, or a plastic container. Just make sure it’s well-ventilated and easy to turn.
How can I integrate composting into my daily routine?
To make composting a part of your daily life, start by using a kitchen bin for scraps. Regularly add materials to your pile. Also, try to reduce food waste in your home.